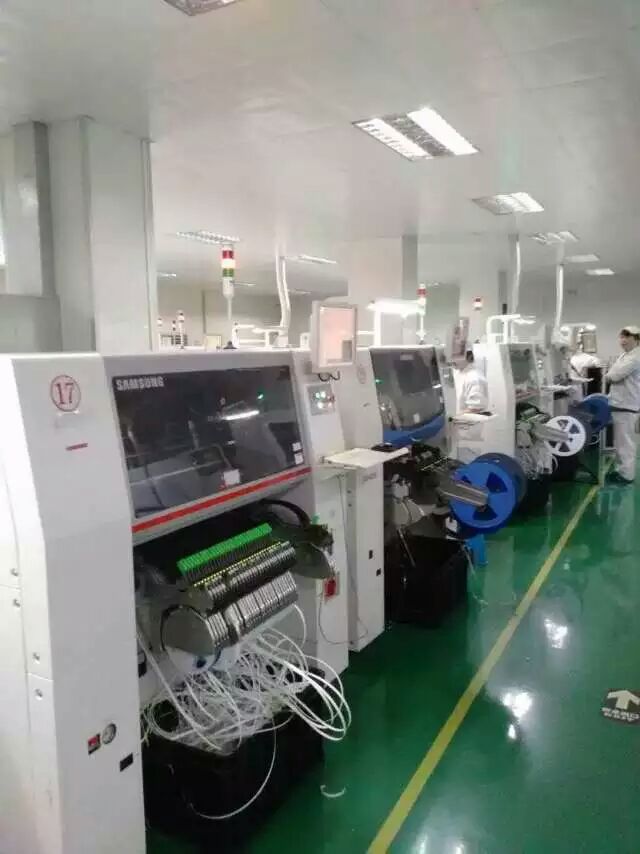
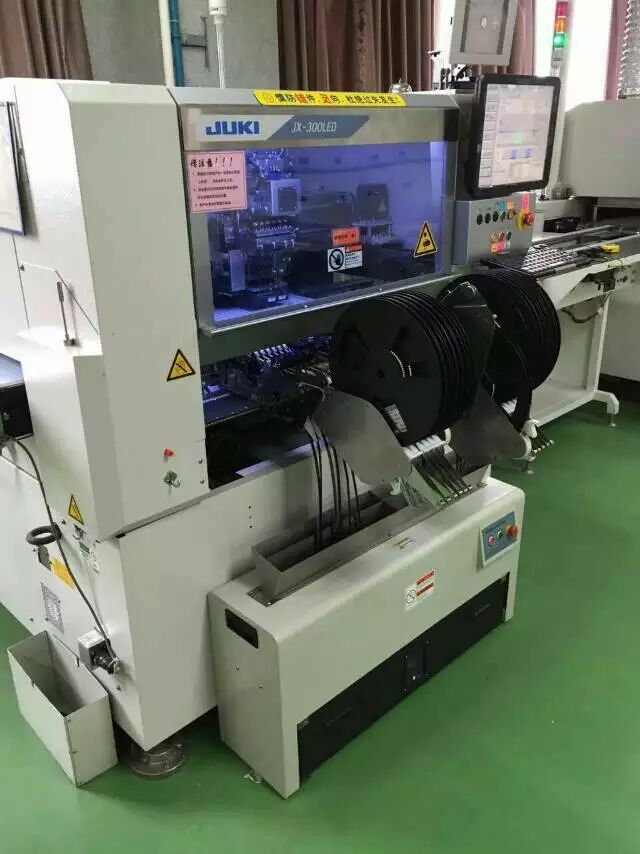
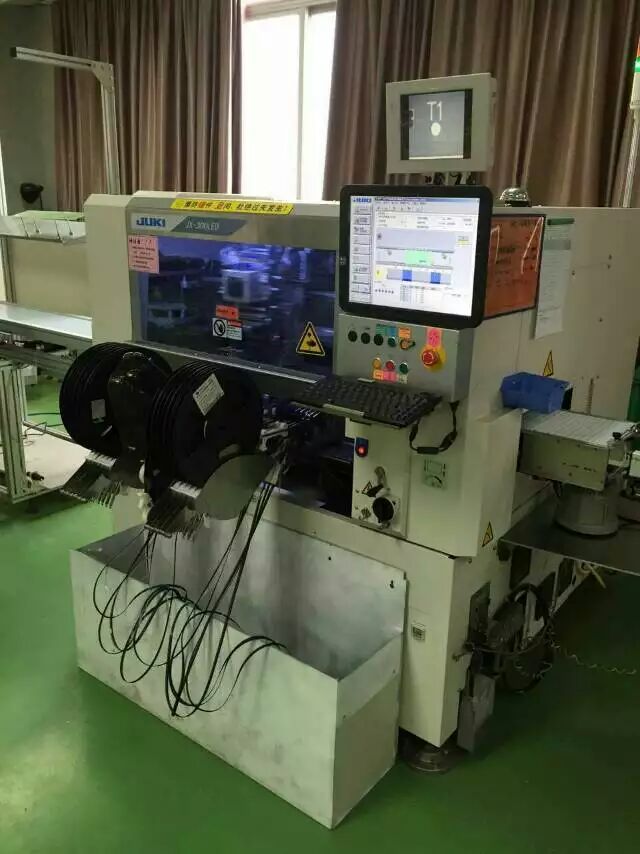
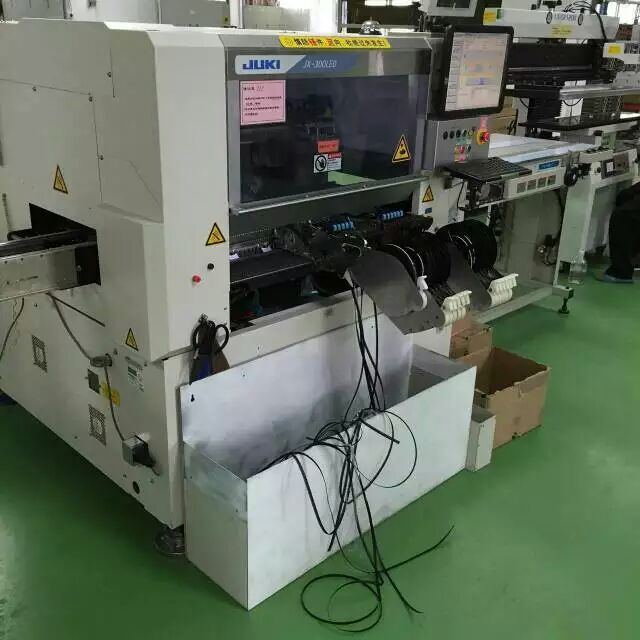
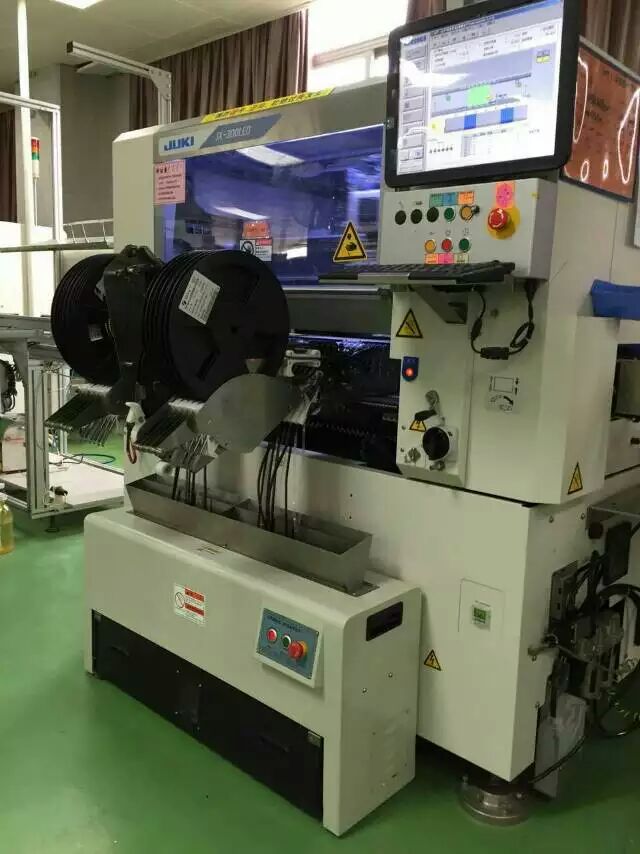
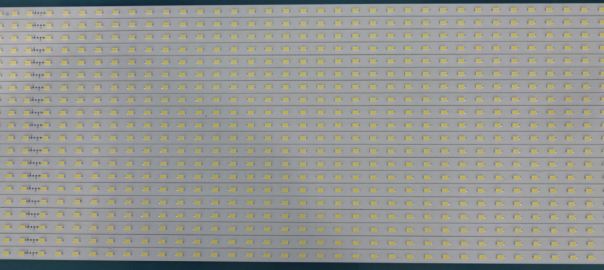
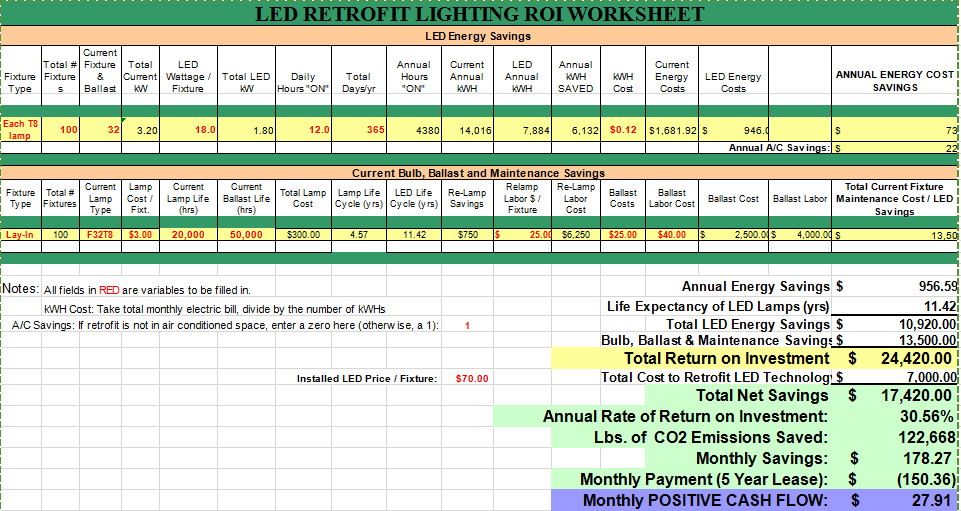
Do you want to invest LED lighting manufacturing, light up your world.
Less 6 months ROI, welcome to visit us to learn how to assembly your LED light.
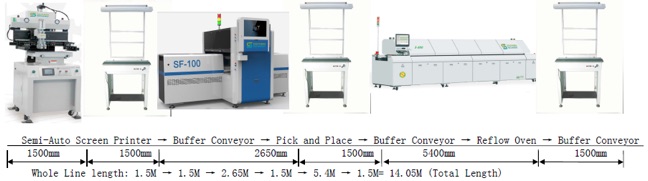
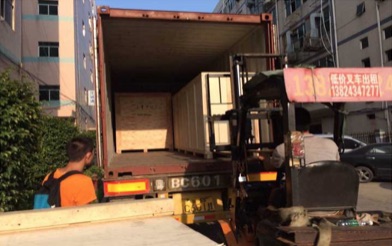
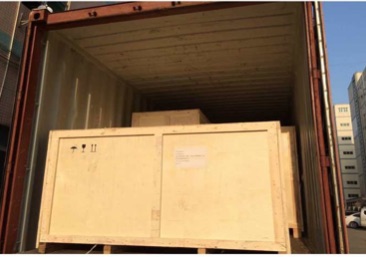

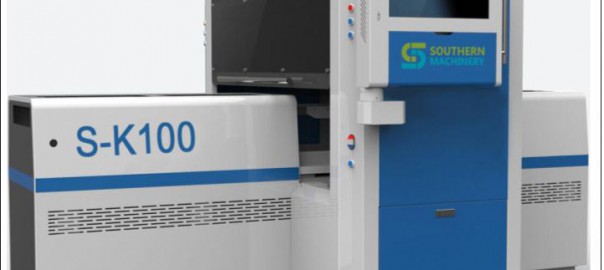
Do you want to invest LED lighting manufacturing, light up your world.
Less 6 months ROI, welcome to visit us to learn how to assembly your LED light.

We designed and manufactured auto insertion machine,SMT equipment, and providing spare parts support .
Posted by Auto Insertion on 2015年9月26日
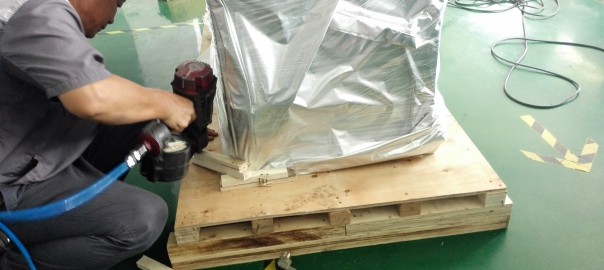
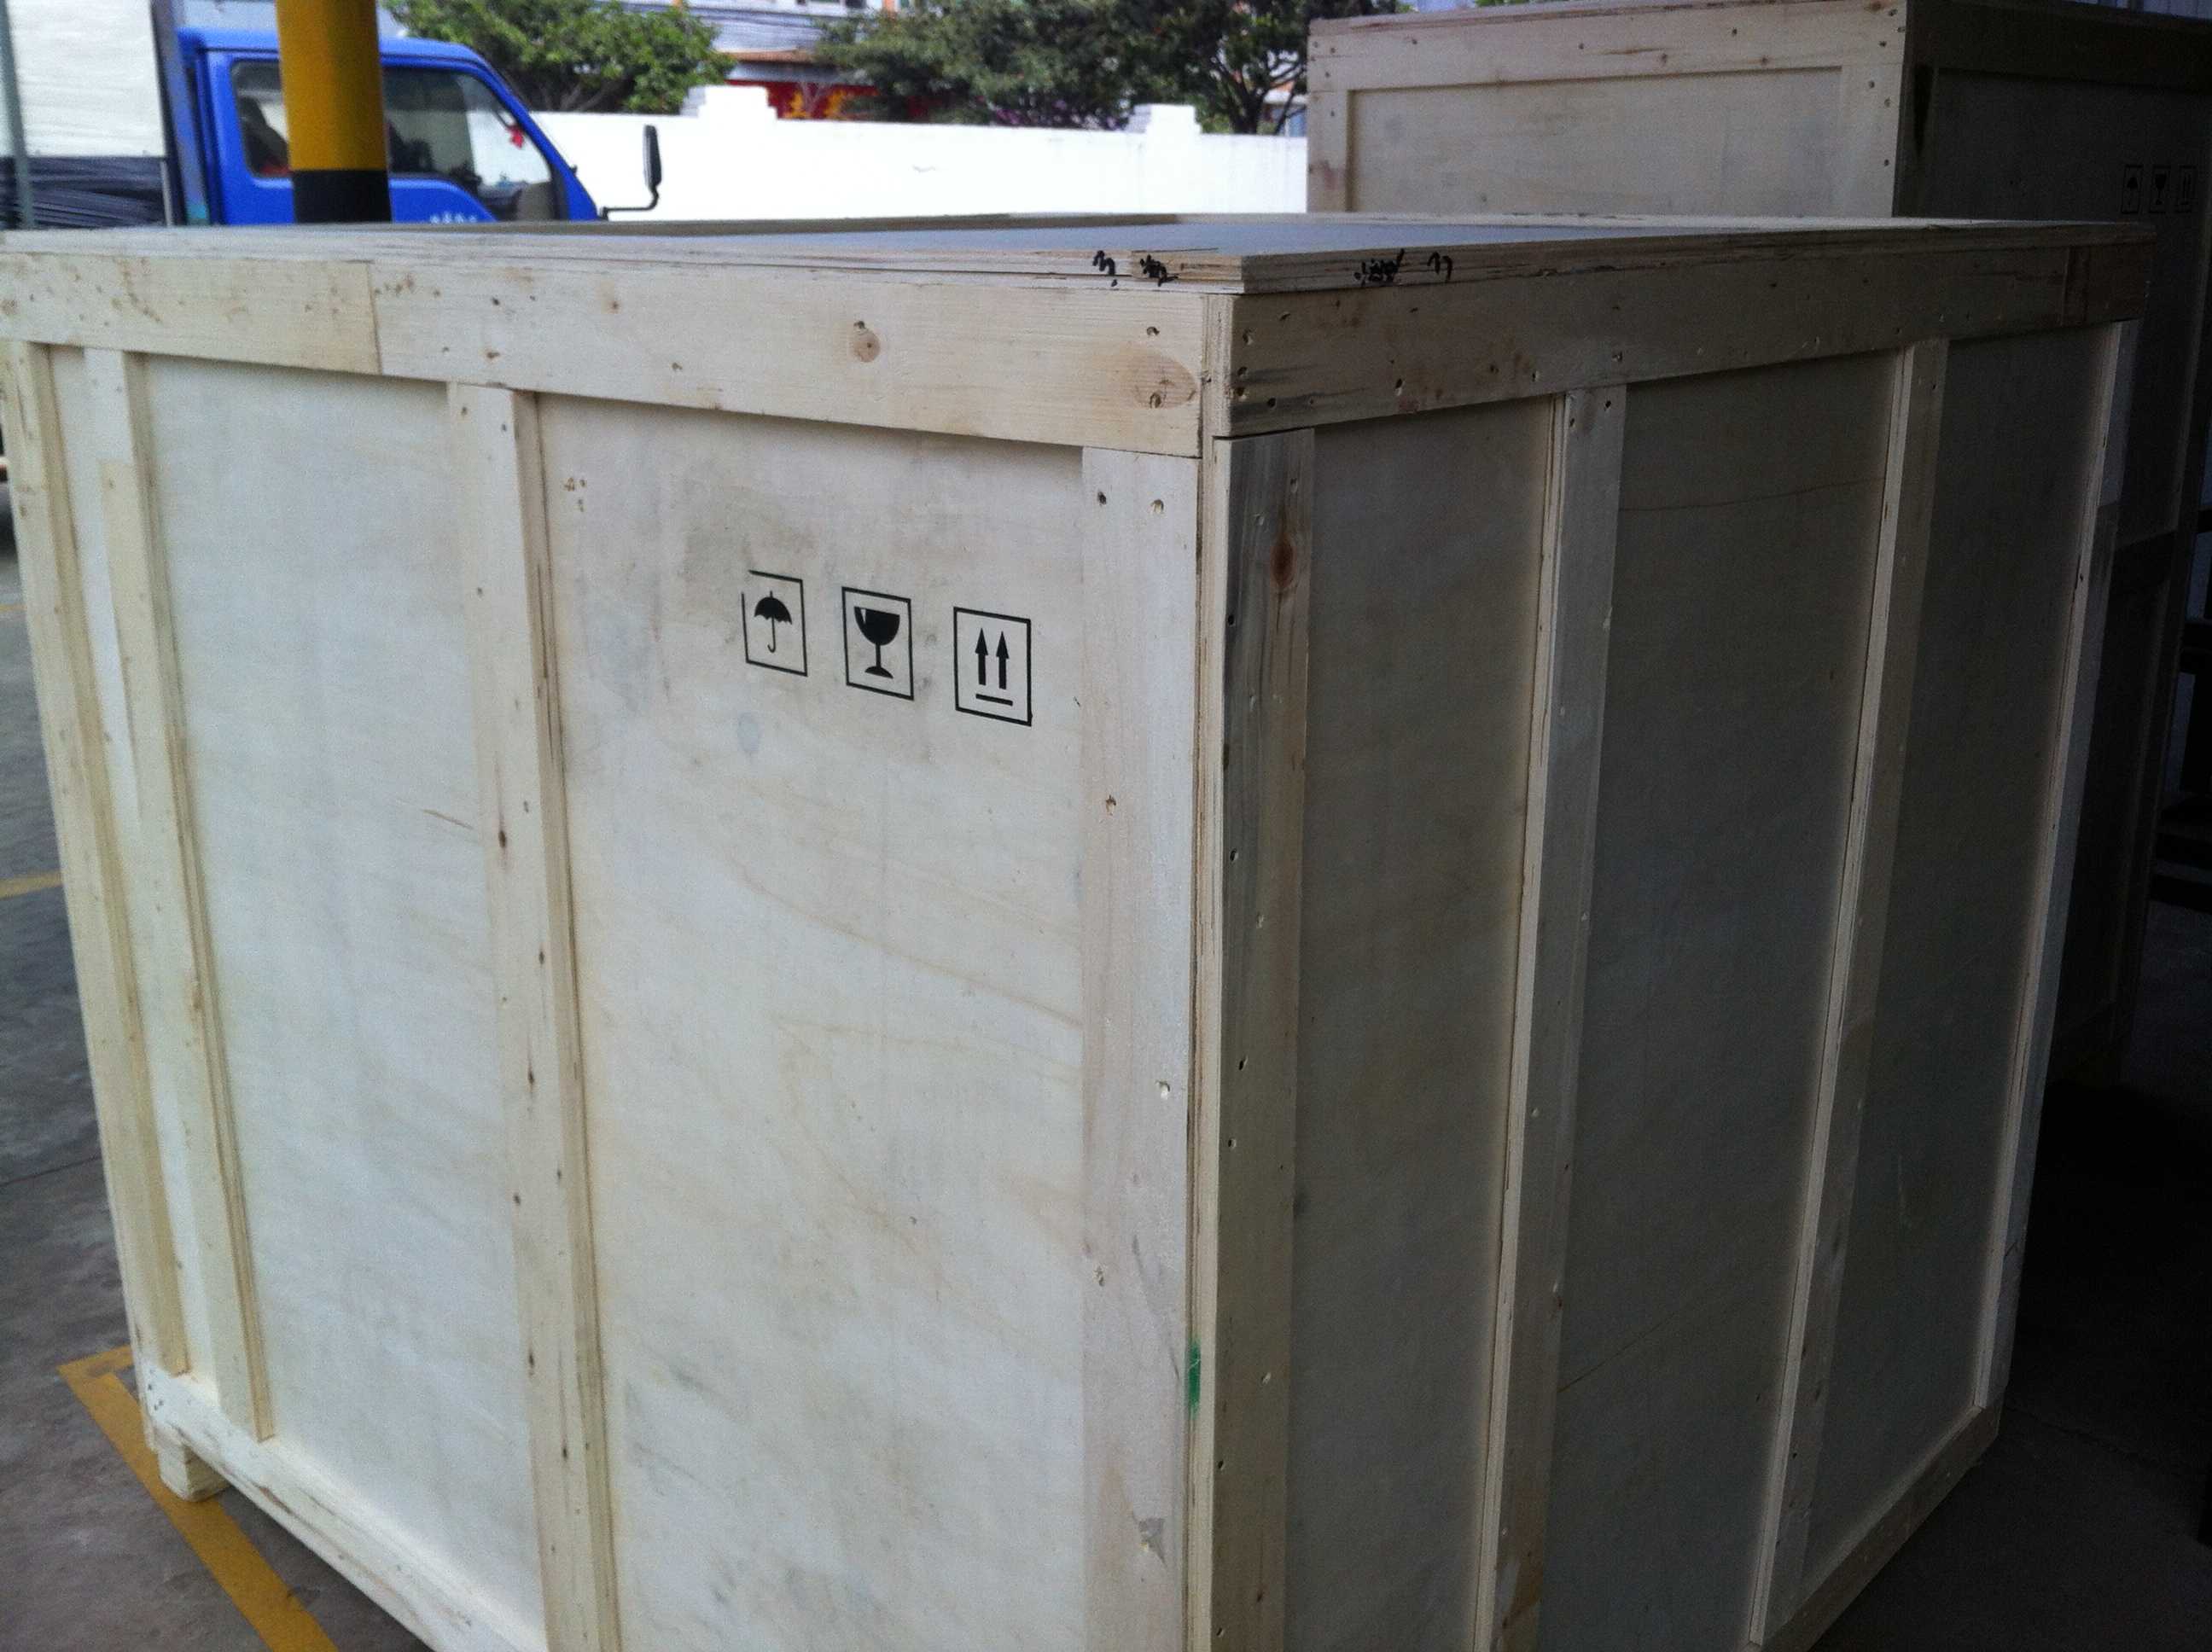
-Good protect for long shipment
-Easy to custom clearance
-Avoid rust or wet

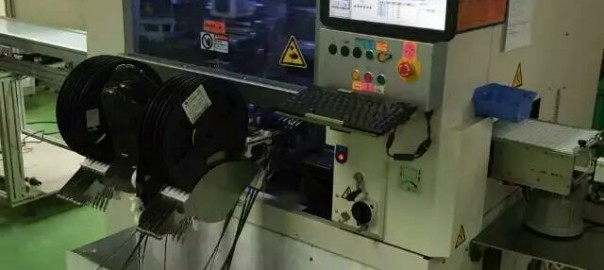
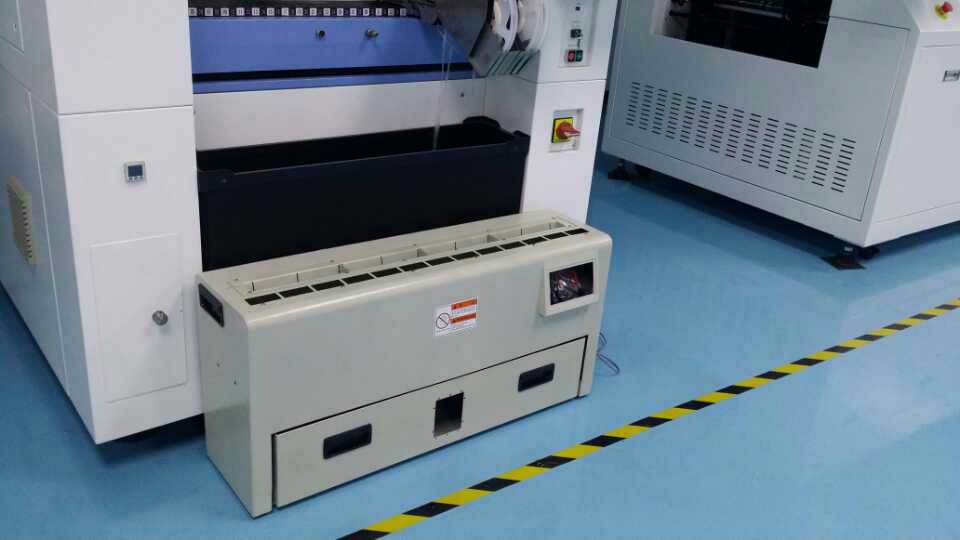
tape and collect them in a trash bin for ease of disposal.
• Do not put objects other than reel tape in the cutter unit.
• Use caution with long hair and when wearing loose clothing
near the cutter unit.
• Unplug the unit when performing maintenance of the
machine.
• Do not operate the machine near flammable gas.
• Do not open/disassemble the cutter unit while the machine
is operating.
• Follow all safety labels on the cutter unit.
1. Rotate the Emergency Stop switch.
2. Push [ON] button at AUTO. The blade unit begins to move.
The blade continues to cycle until the collection bin is
removed or the Emergency Stop switch is pushed.
Use the following procedure to clear a jam.
1. Push the Emergency Stop switch to stop the buzzer.
2. Rotate the Emergency Stop switch.
3. Turn power on by pushing [ON] button at POWER.
4. Push and hold the Left or Right Directional Arrow button to
move the blade back away from the jam.
5. Push the Emergency Stop switch and clear the jam.
6. Rotate the Emergency Stop switch.
7. Turn power on by pushing [ON] button at POWER.
8. Push [ON] button at AUTO. Resume auto cutting.
Use the following procedure when emptying the Scrap Tape Cutter
collection bin.
1. Grasp the handles on the trash bin and slide the bin out from
the Scrap Tape Cutter unit. The cutter automatically stops.
2. Empty and then re-install the trash bin. Push the [ON] button
at AUTO to resume operation.
Replace the Blades
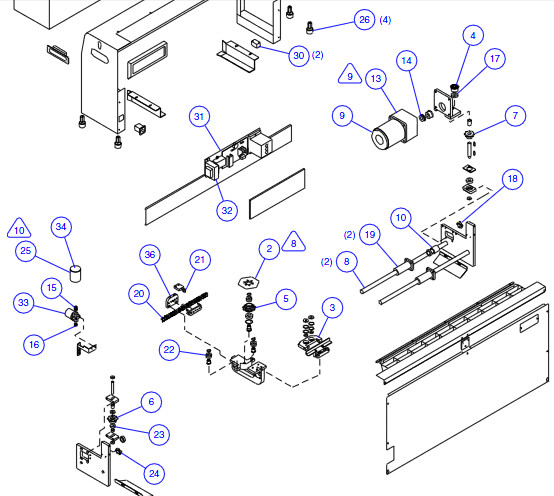
The blade unit of the Scrap Tape Cutter consists of a fixed and hex blade.
Replace both blades when the cutter jams frequently or when the blades
become damaged or worn. Use the following procedure when replacing the
cutter blades.
1. Push the Emergency Stop switch and unplug the unit.
2. Remove the back cover and tape inlet guide from the cutter unit.
3. Remove the 4 screws that secure the fixed blade to the housing. Use
caution so as not to lose the washers that are under the blade.
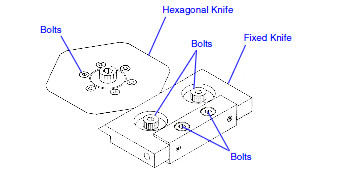
4. Remove the idler guide from the housing.
5. Remove the 6 screws that secure the hex blade to the housing.
6. Clean any debris that may have gathered under the blades.
7. Install the new hex blade. Note the correct orientation of the blade.
8. Install the idler guide and secure to the housing.
9. Verify that the washers are in place and install the new fixed blade.
10. Install the tape inlet guide making certain the plate is aligned with the
screw holes.
11. Install the back cover, plug in the unit, and rotate the Emergency Stop
switch. The unit is ready for operation.
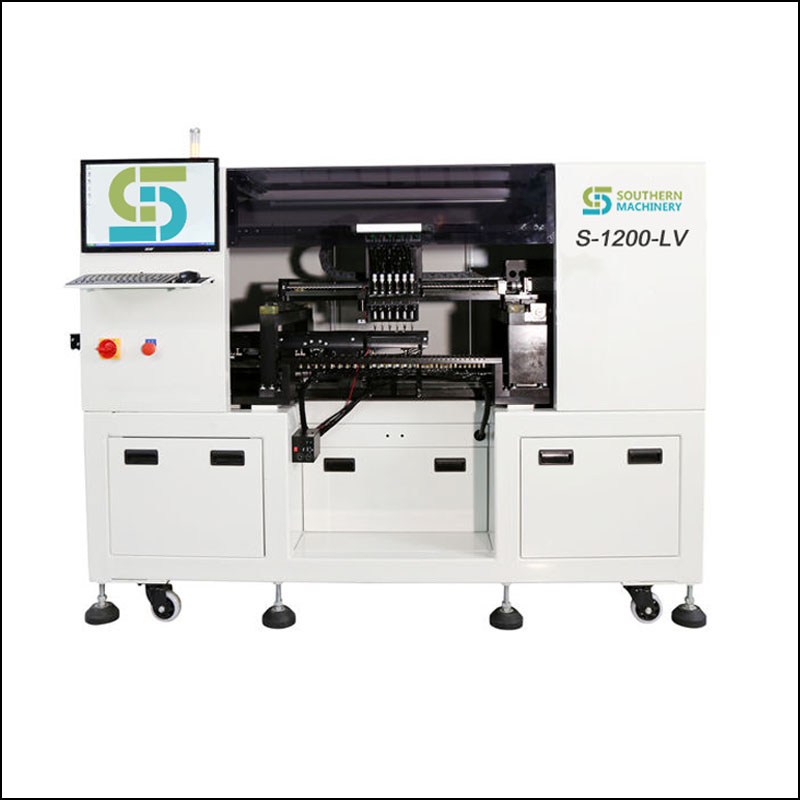
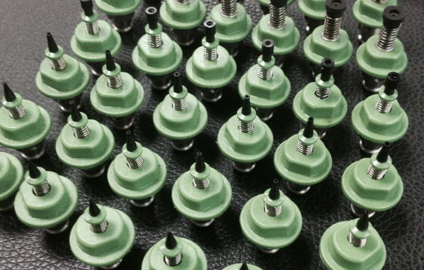
We provide total solutions for PCB assembly, stop to import electronic product from China.
Heat transfer and equipment
How to profile, variables to consider
Understanding and designing the “Best profile”
Understanding what the profile does
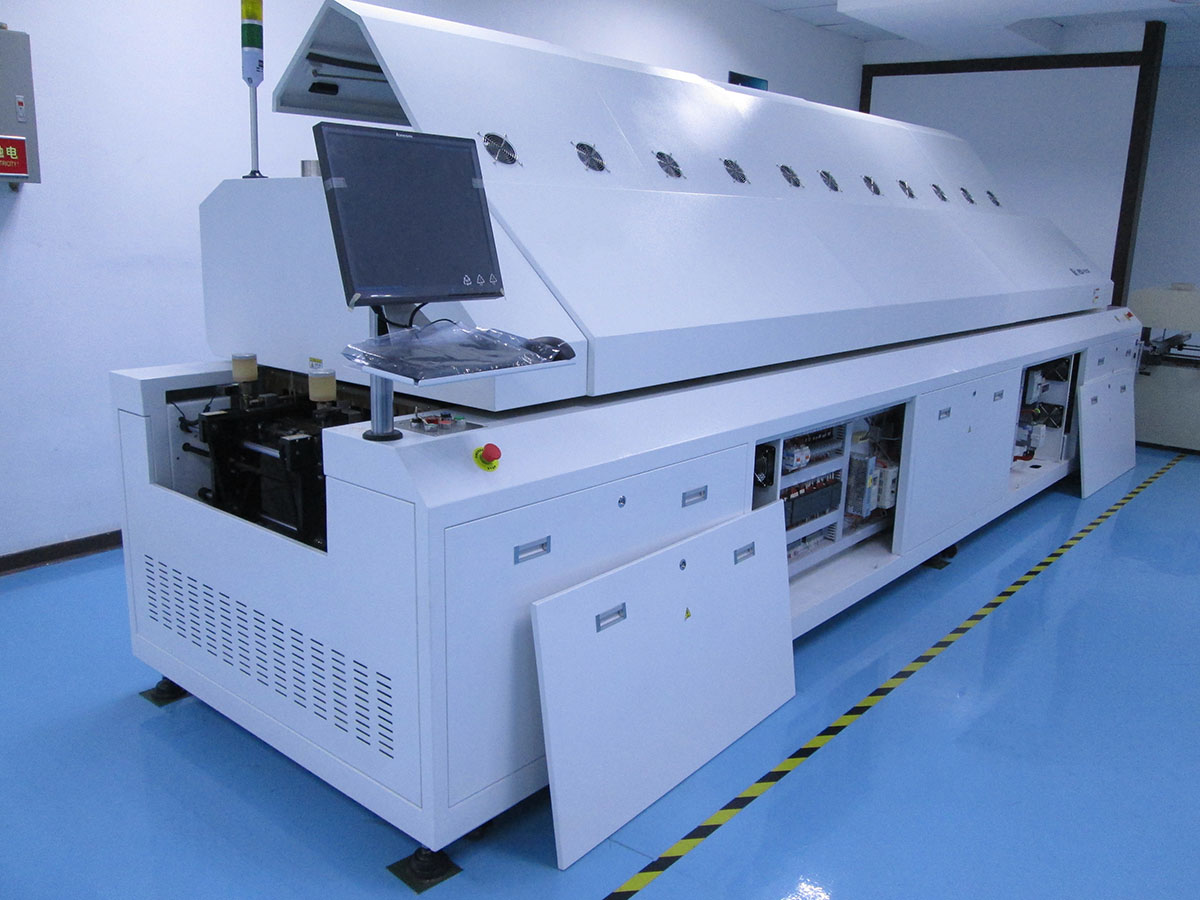

The following presentation
covers the main processes
during the production of
a multi-layer PCB. Ask for more, please contact : jasonwu@smthelp.net

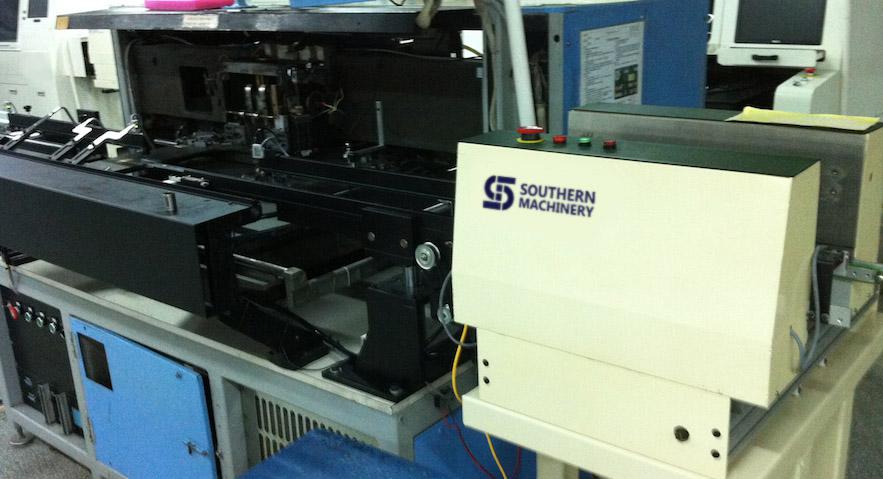
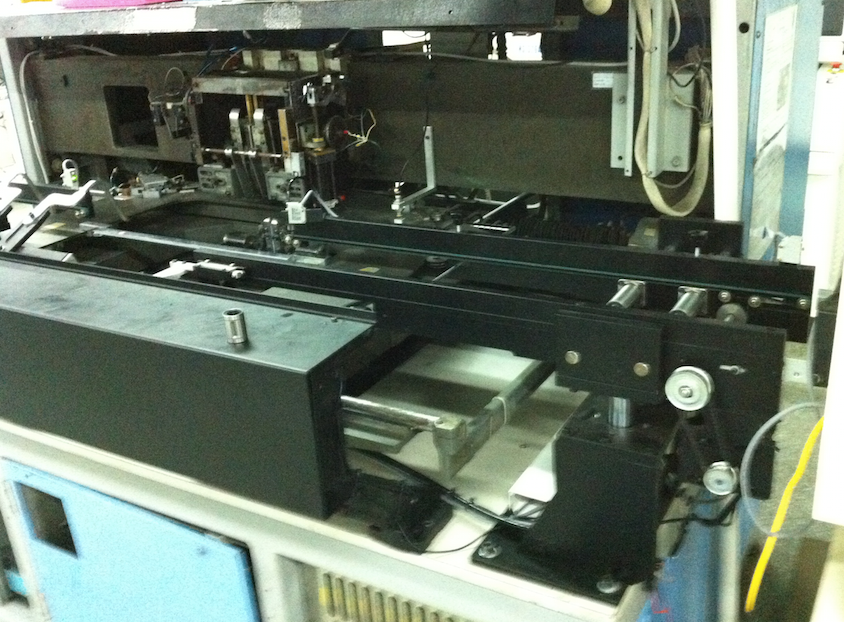
Universal Inserter Loader And Unloader Automation Transformation
*Reduce the operator labor intensity
*Reduce the equipment efficiency loss caused by operator sabotage
*Automatic production mode.
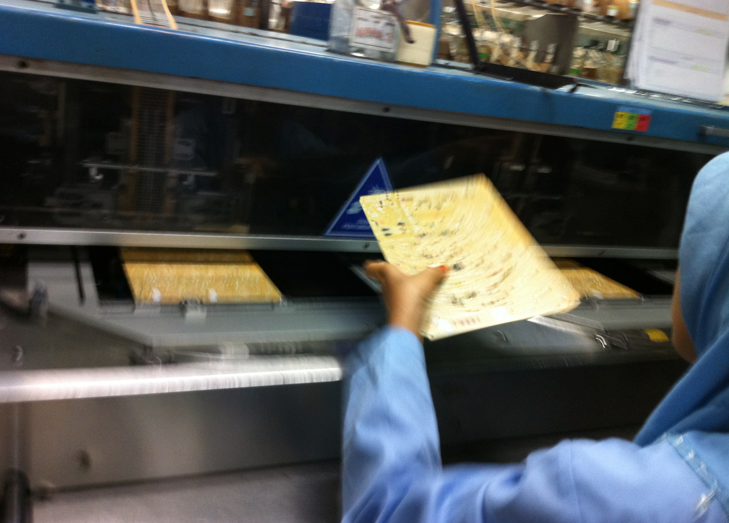

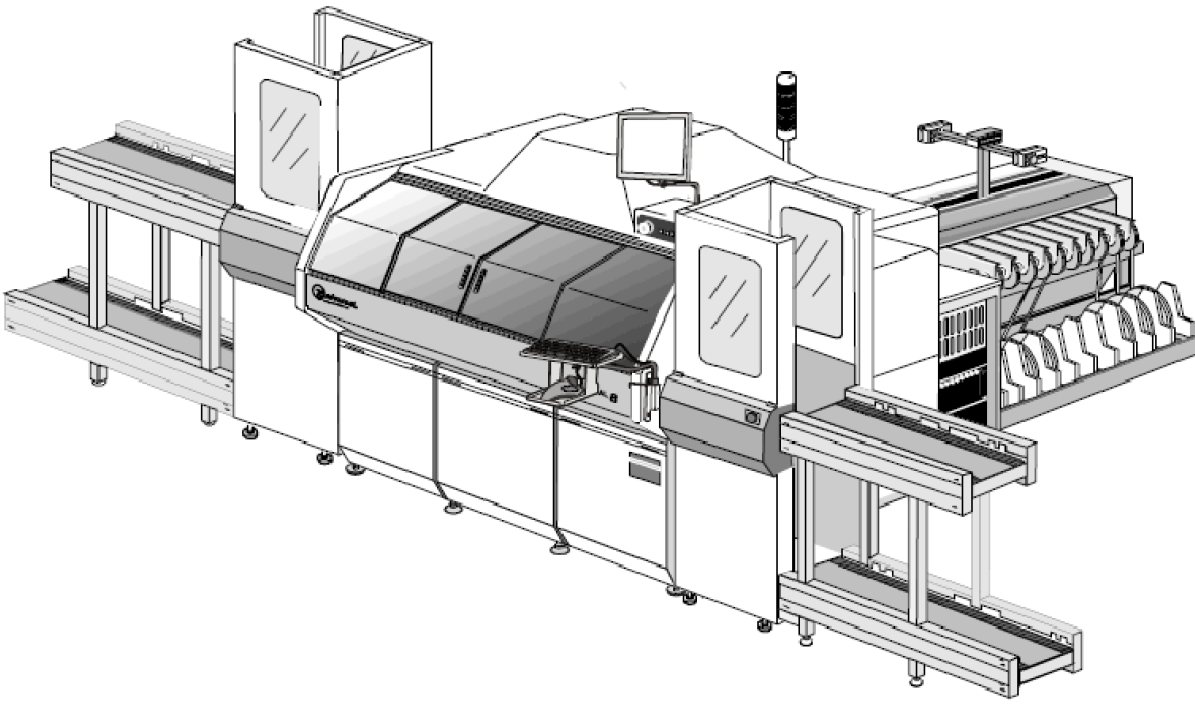
The content of the technical
Technical renovation project mainly includes four modules setup and training:
1.Bridge type automatic institution adapted for changing plate
2.Container loader and material box unloader
3.Electric control circuit
4.Software Settings.
5.Training 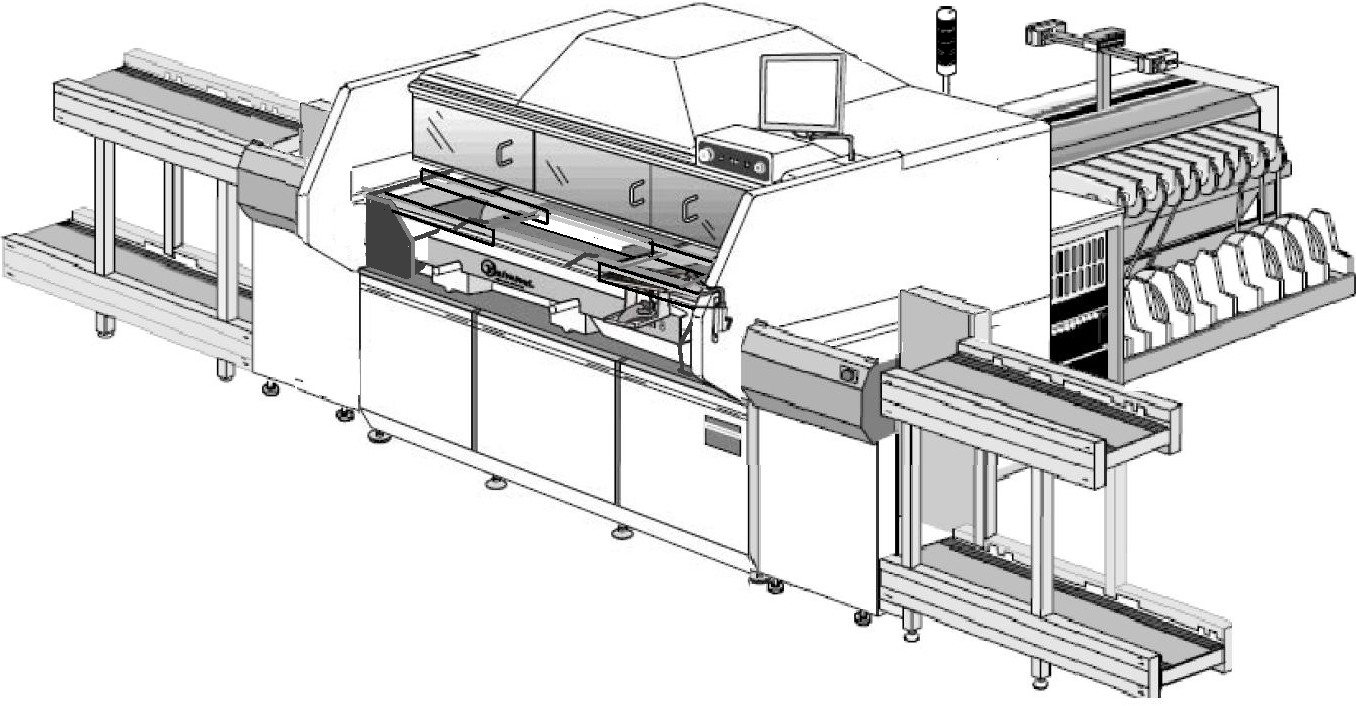
*Training operation for operator
*Maintenance engineer training
The implementation steps
Component installation project include:
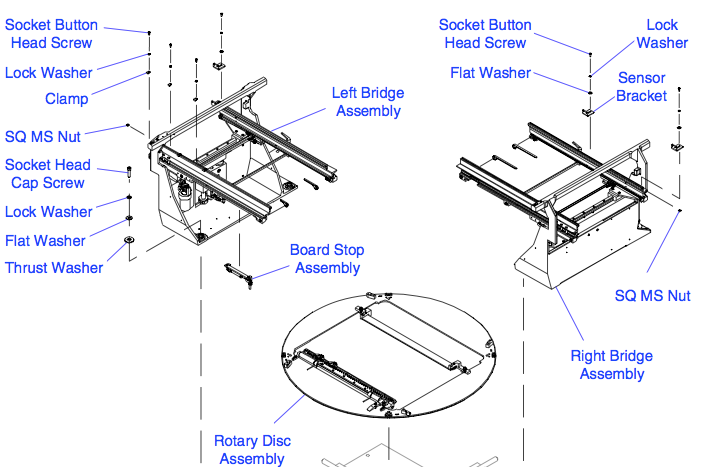
1.Installation of bridge type automatic agency for changing board
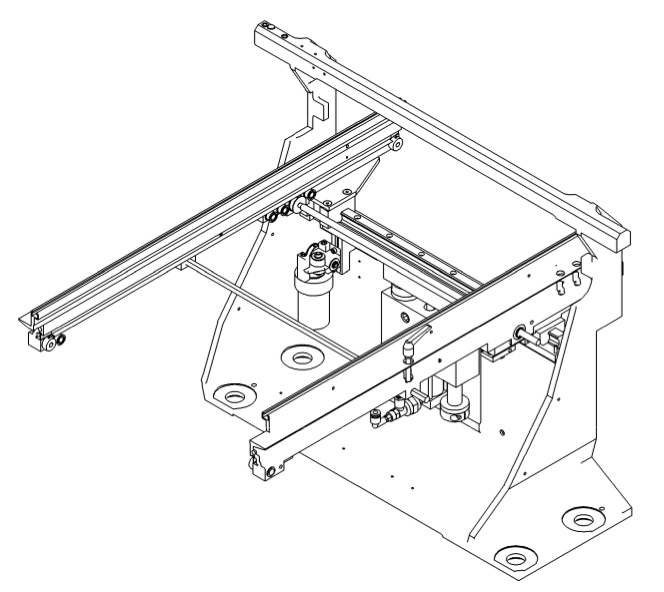

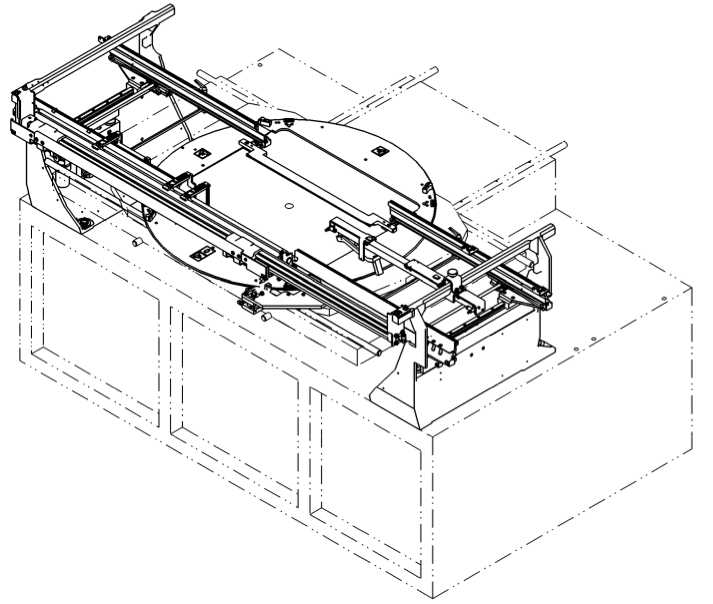
Lift bridge components
2.Rotary worktable PCB fixture from stationary orbit type
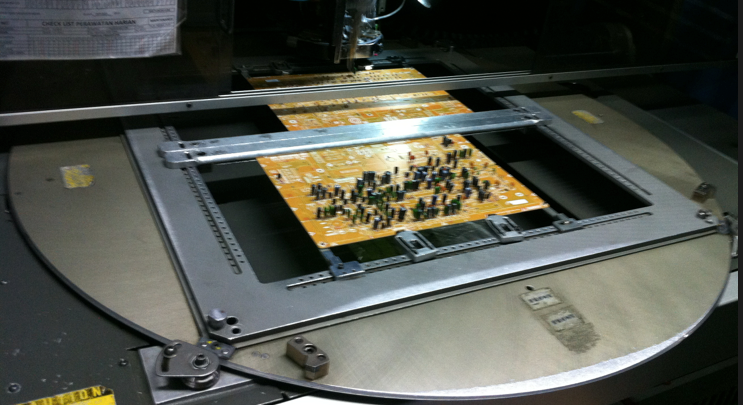

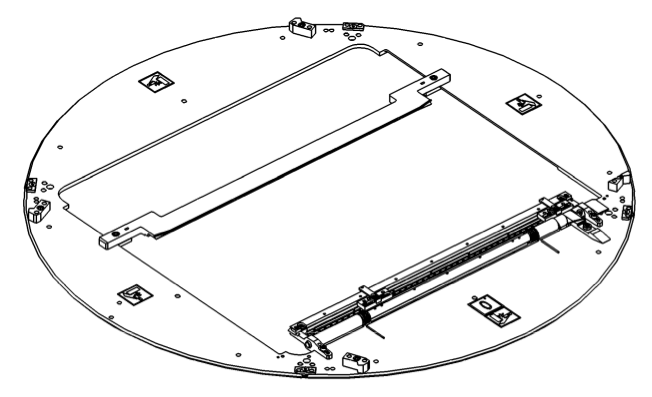
Fixed clamp Rail clamp
The implementation steps
3.Installation material box loader and unloader machine
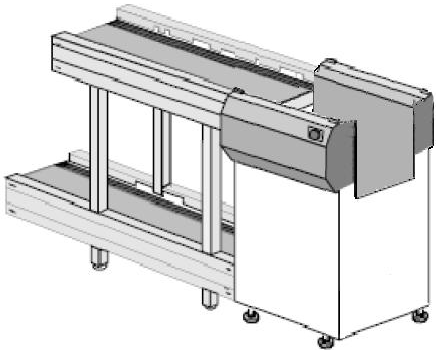
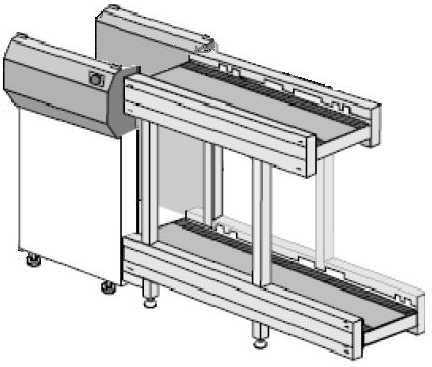
4.Electric control circuit
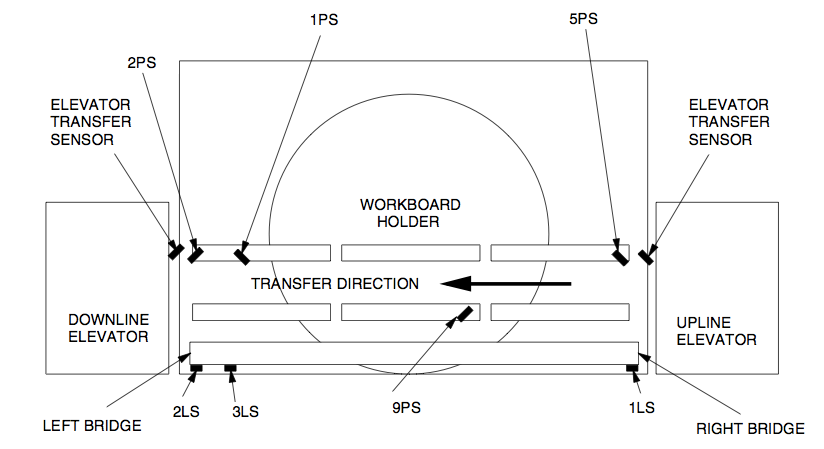
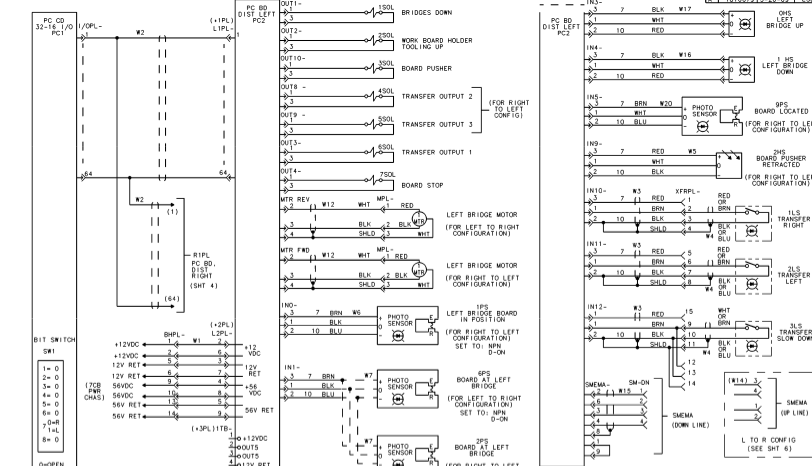
5.Software Settings.
Customers give evaluation is: stable and reliable, simple and easy to use and cost-effective
Automation Benefits
The purpose of this document is to improve printed circuit board
design and layout by detailing the basic considerations associated
with the electronic assembly process. Experience has
shown that applying these design principles produces efficient,
reliable board designs.
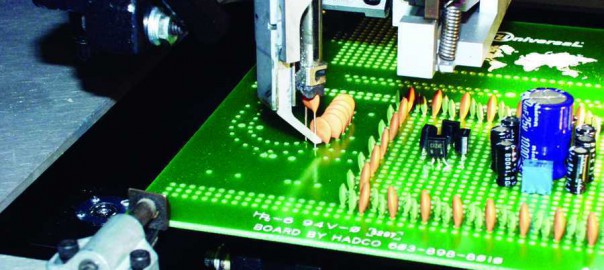
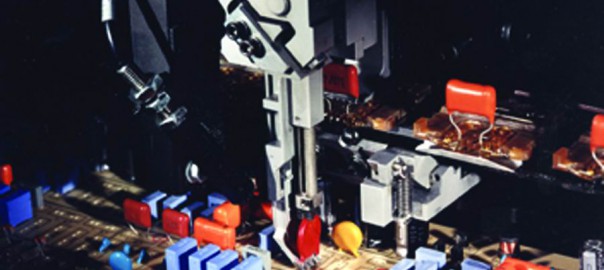
Automatic component insertion provides the consistency required to
ensure the highest levels of circuit board quality, throughput, and
process control. When properly planned and implemented, automatic
component insertion provides significant cost savings in the
printed circuit board assembly process.
The benefits realized from automating circuit board assembly processes
span all areas of manufacturing. Ultimately, all of these
benefits result in improved products and reduced production costs.
Three key inputs affect the economics and logistics of PC board
assembly: (1) the circuit boards, (2) the equipment used to assemble
the boards, and (3) the components to be inserted. By precisely
understanding and standardizing these three primary elements,
manufacturers can improve the quality of the finished boards,
increase the throughput of the assembly equipment and the system,
and more precisely define the process control standards to provide a
basis for future applications. Standardizing these elements reduces
process variability, which leads to increased insertion reliability,
improved product quality, enhanced system price/performance and,
ultimately, reduced production costs.
.files/FoxAttachPreview(09-19-09-05-36)375.png)
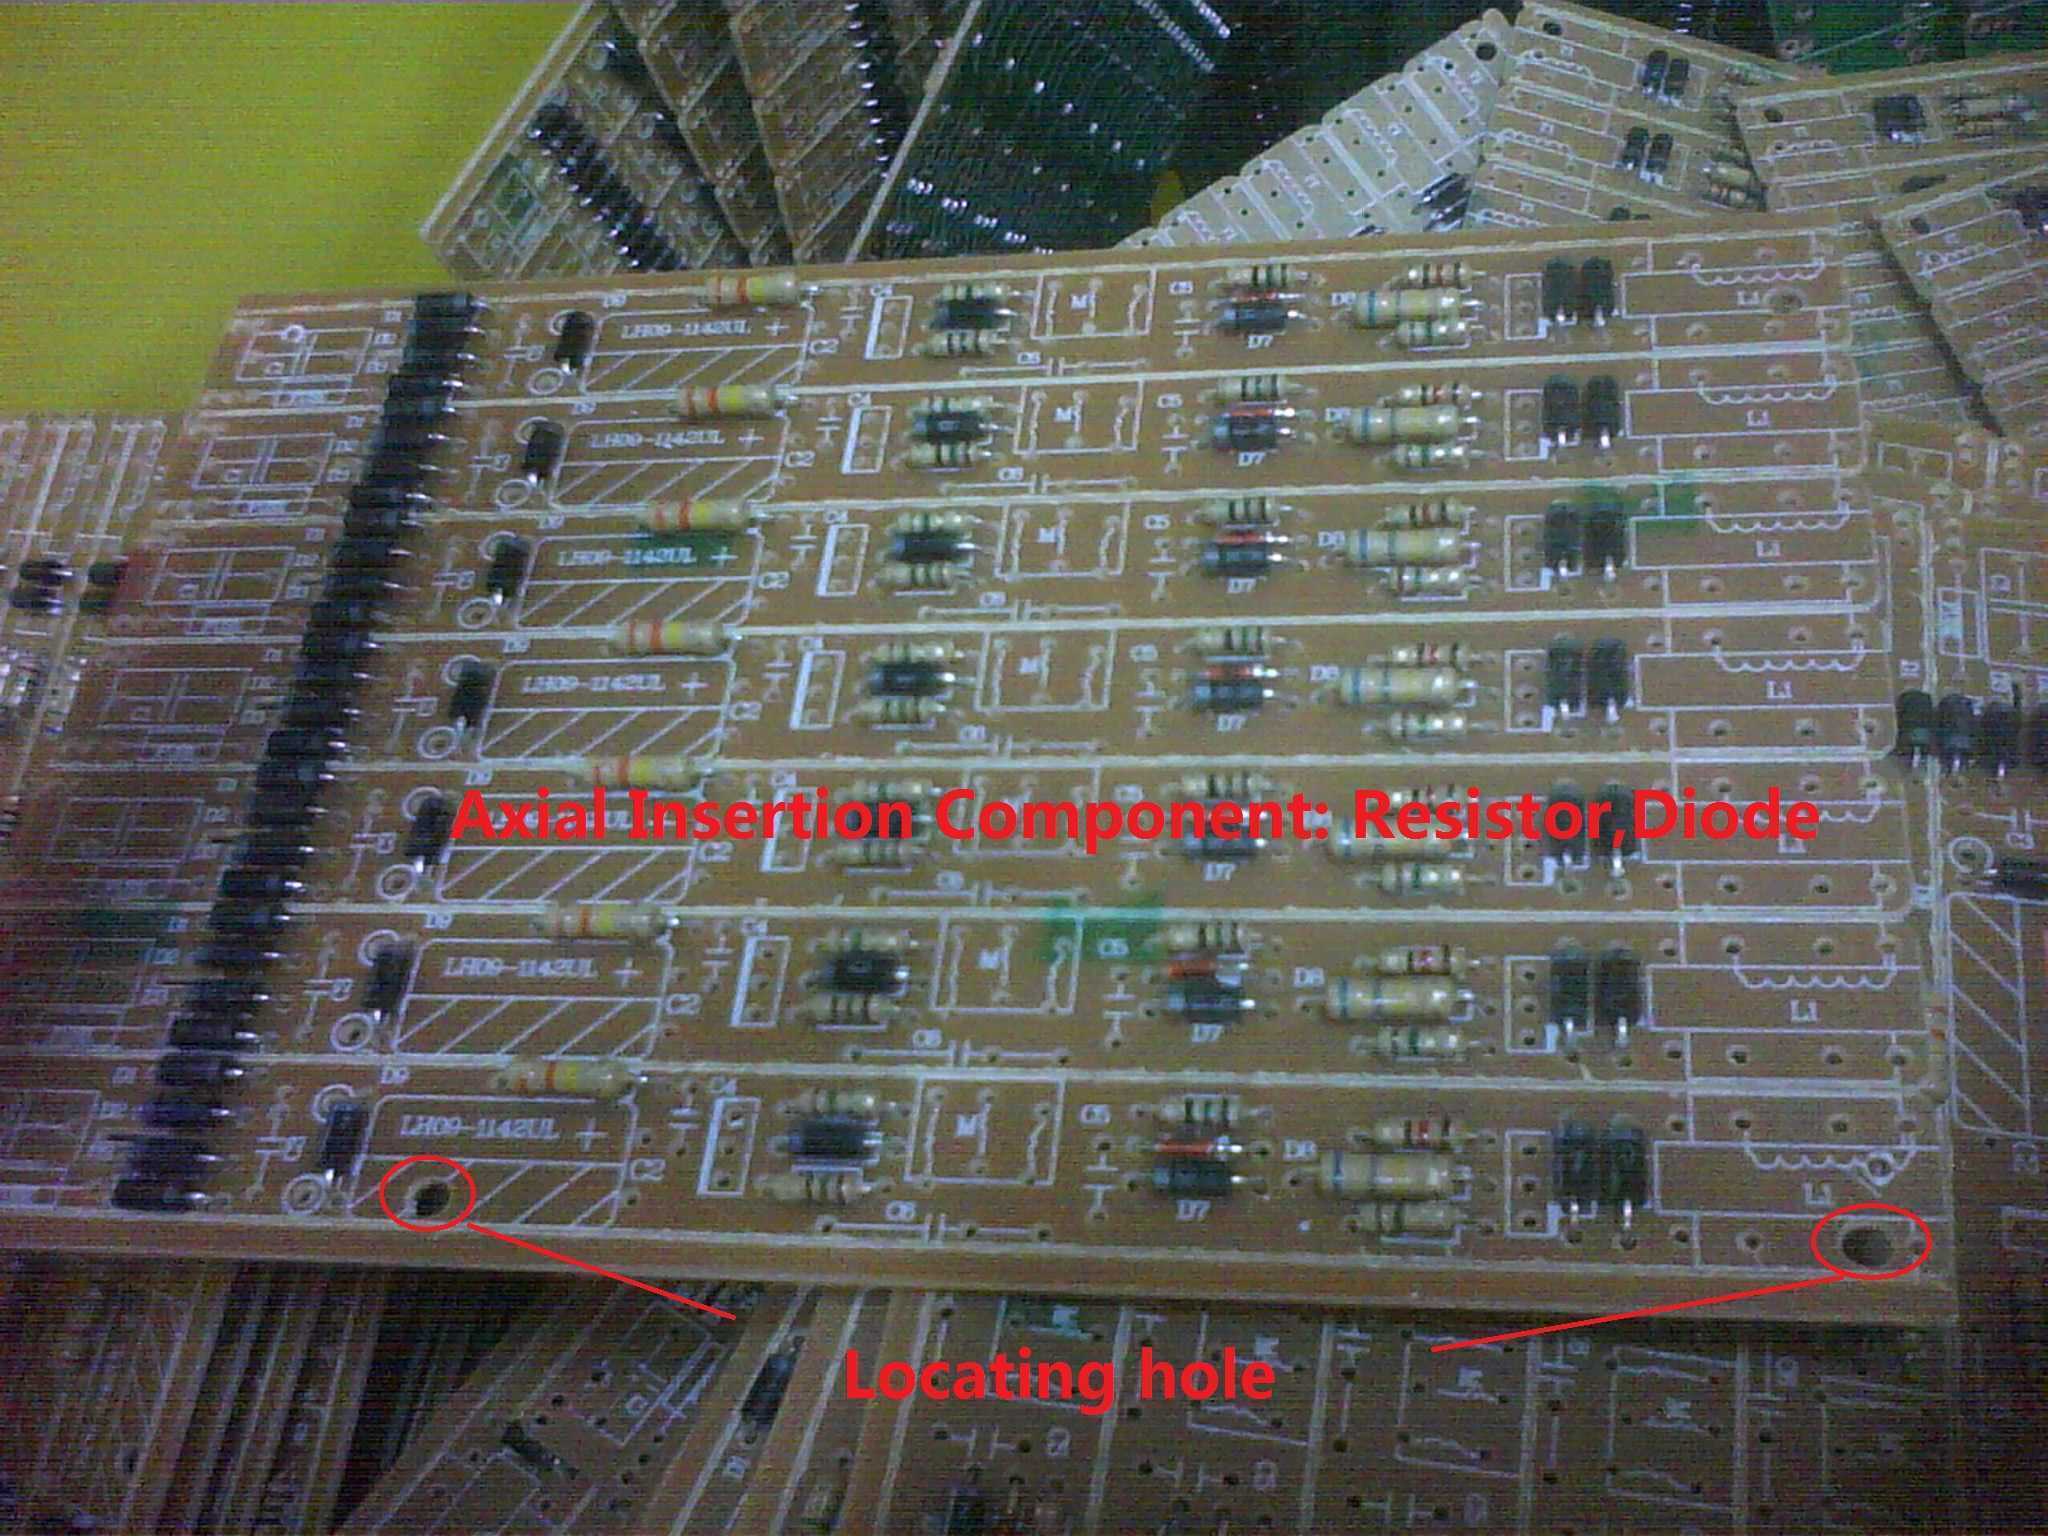
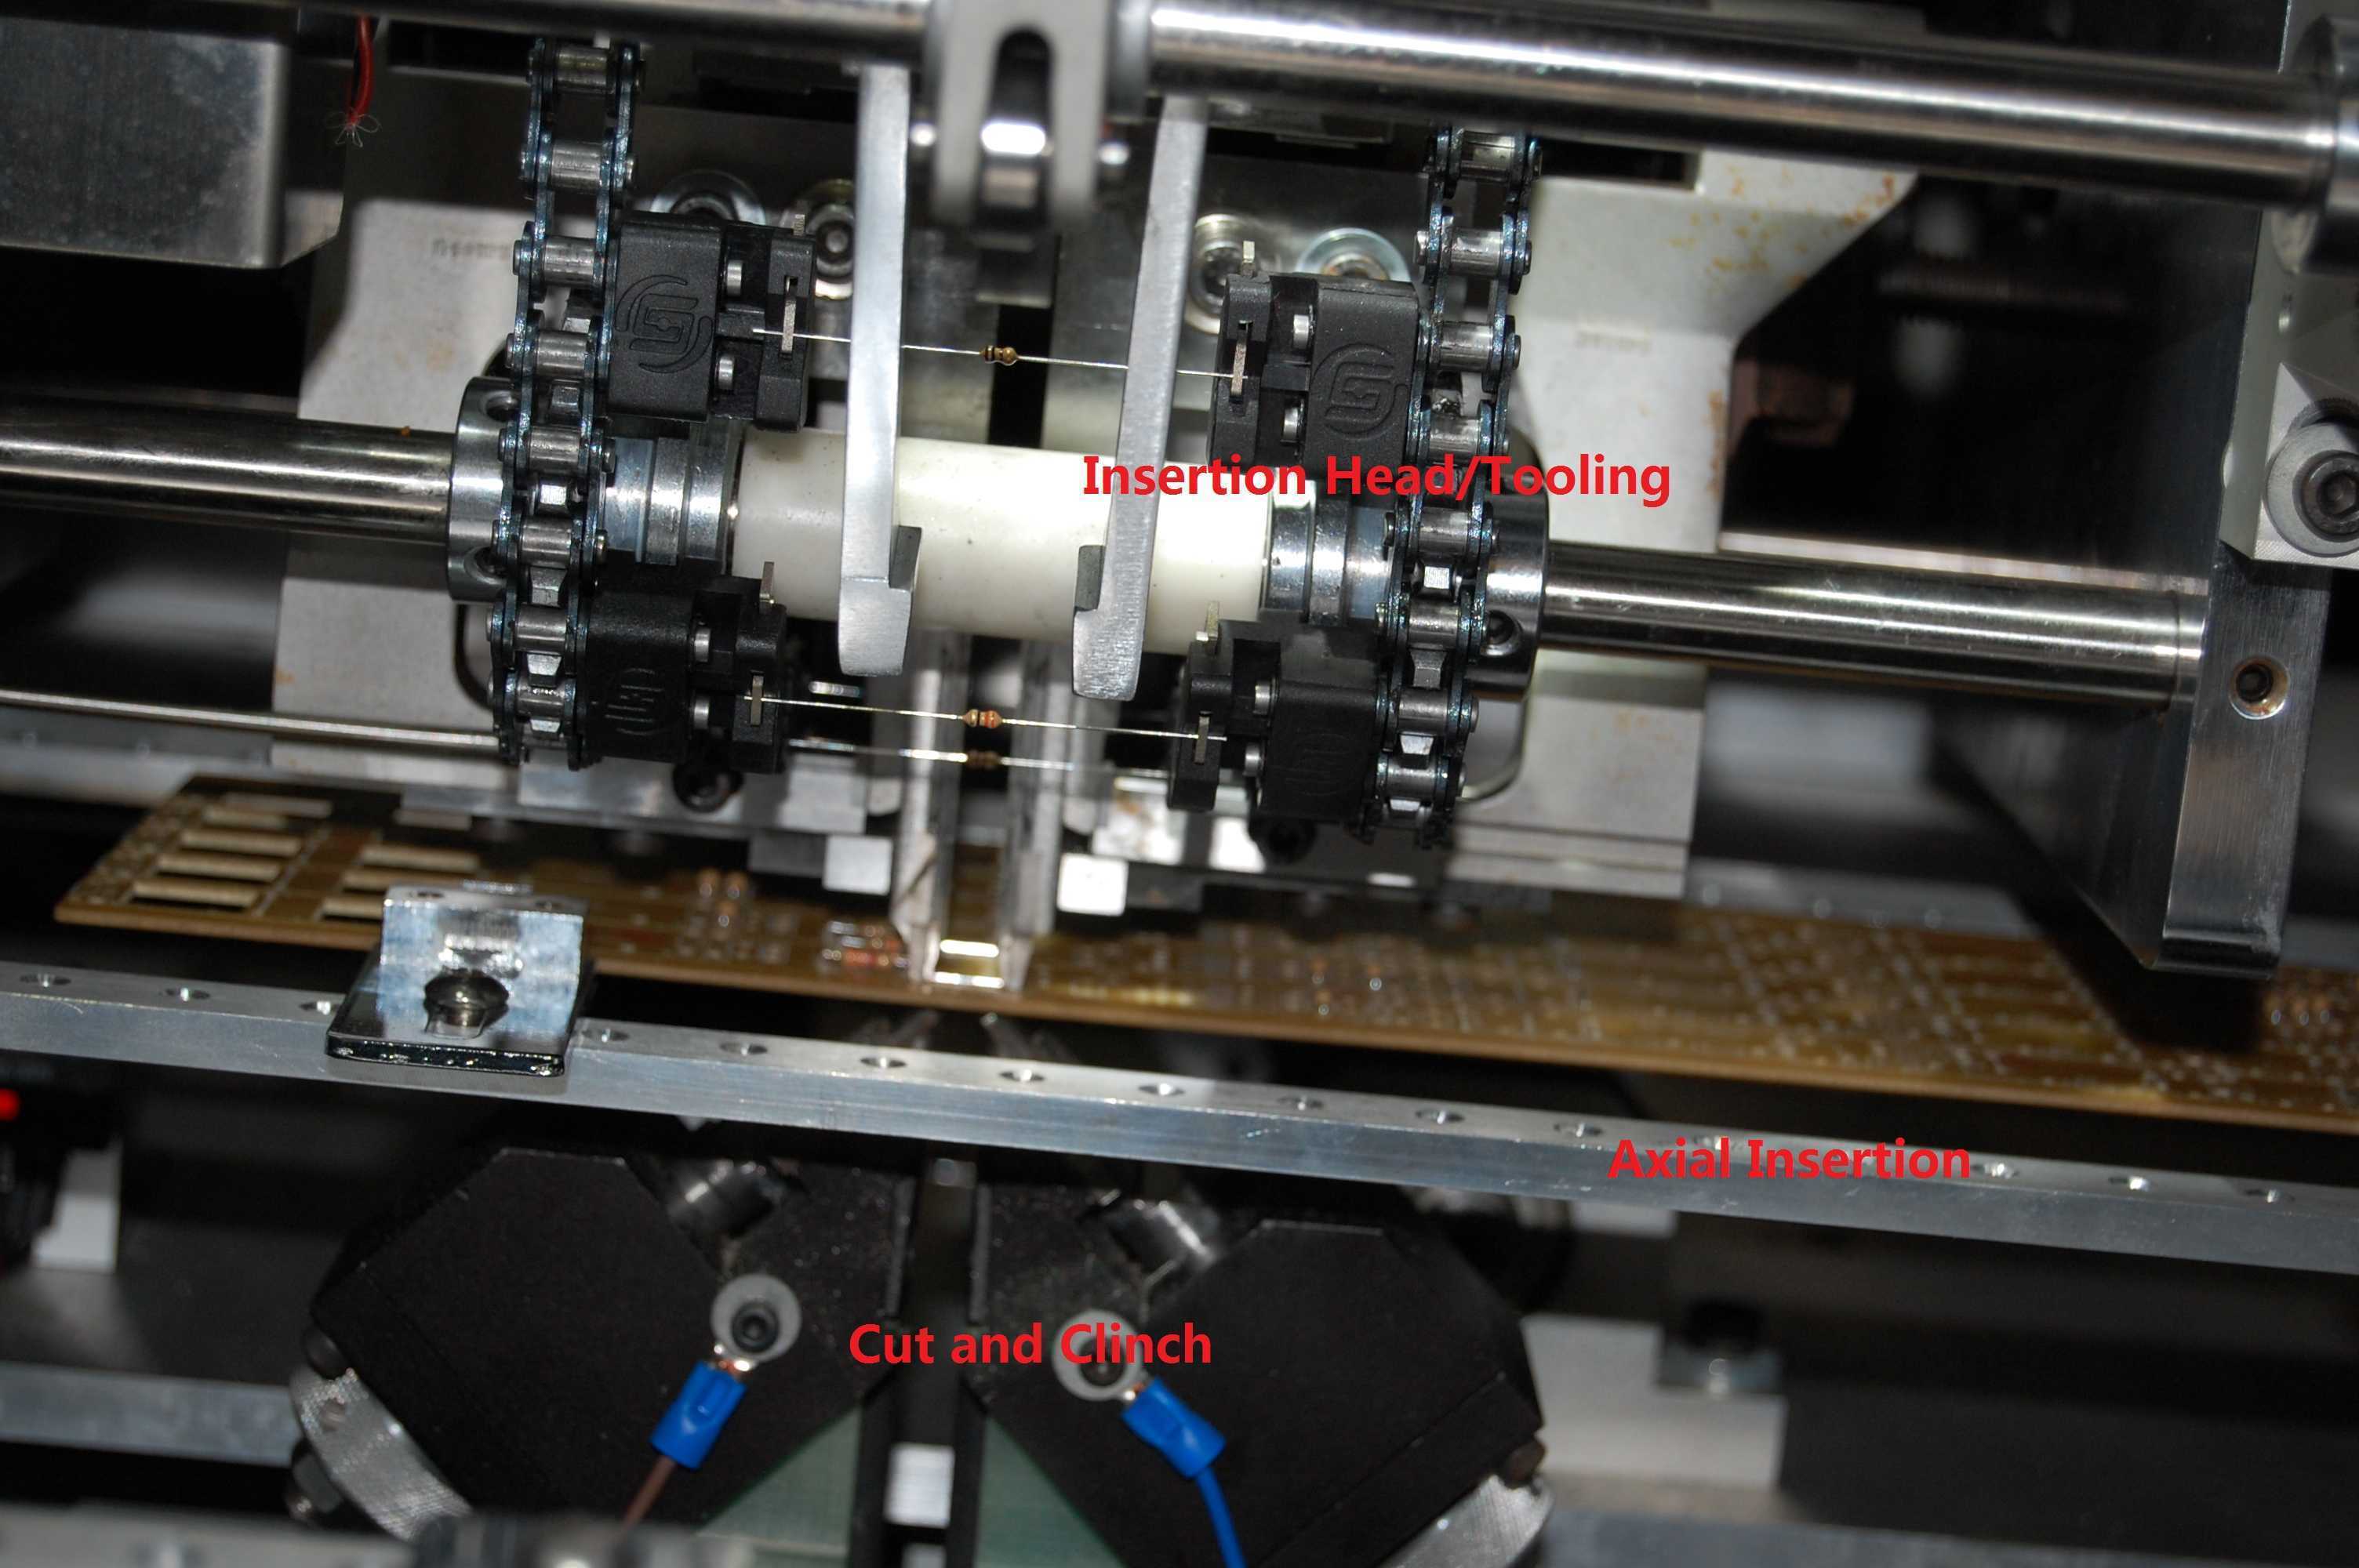
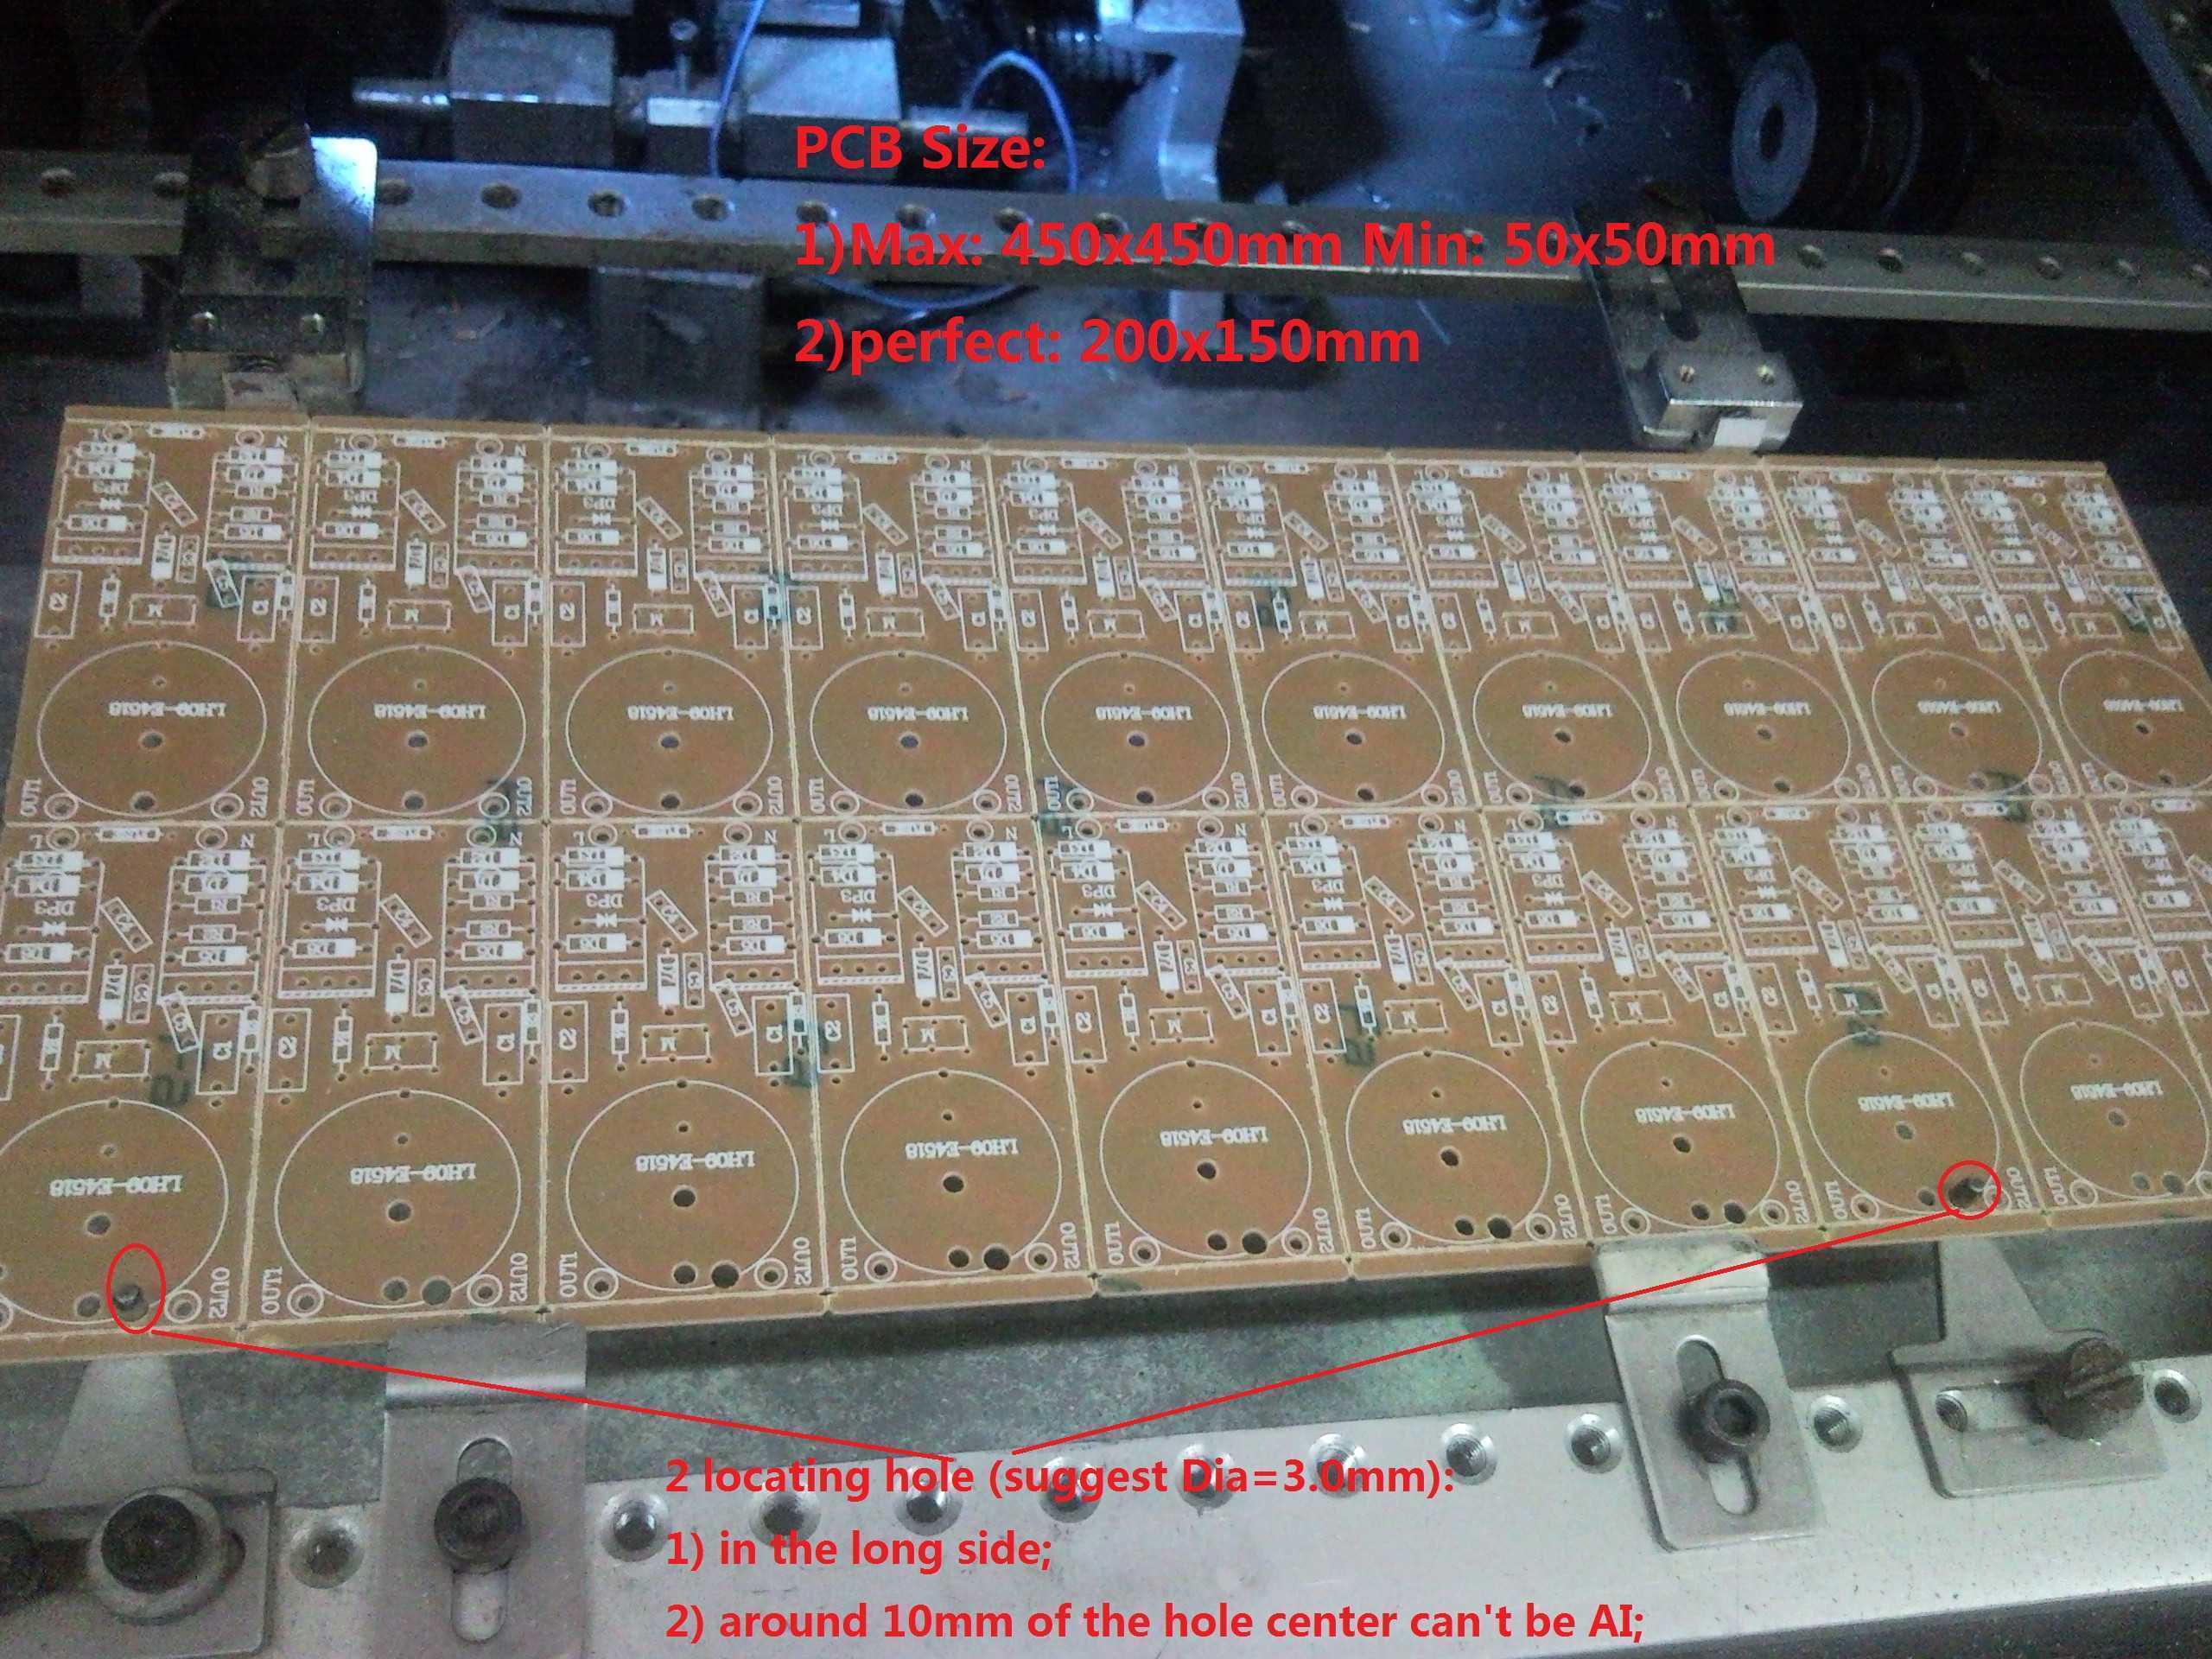
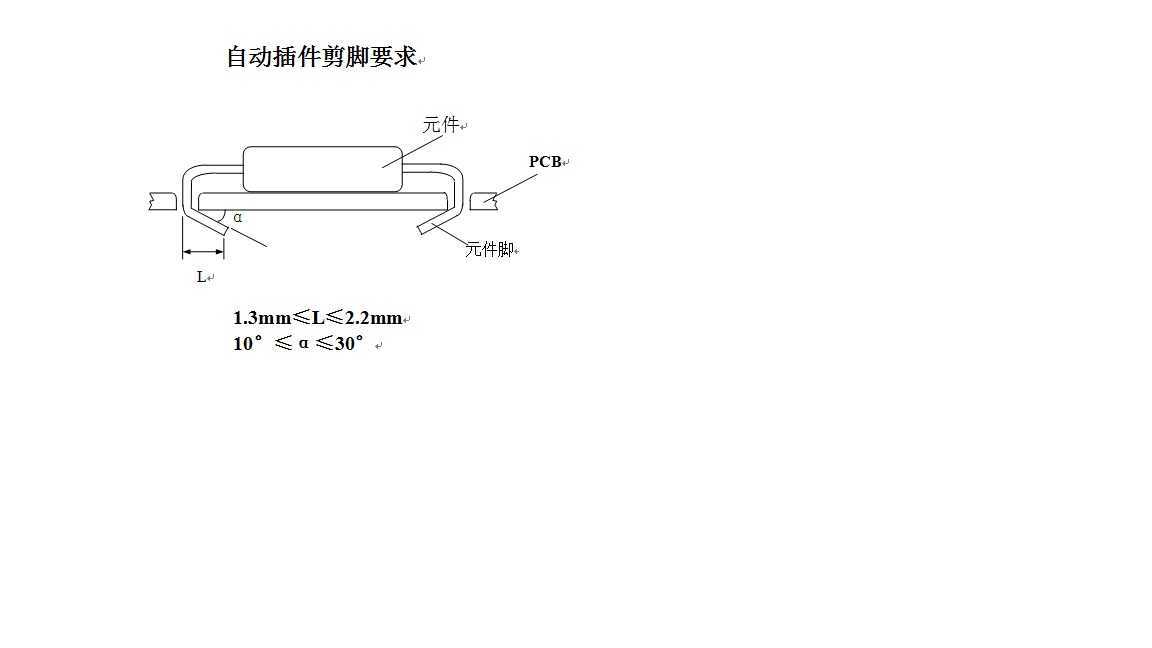
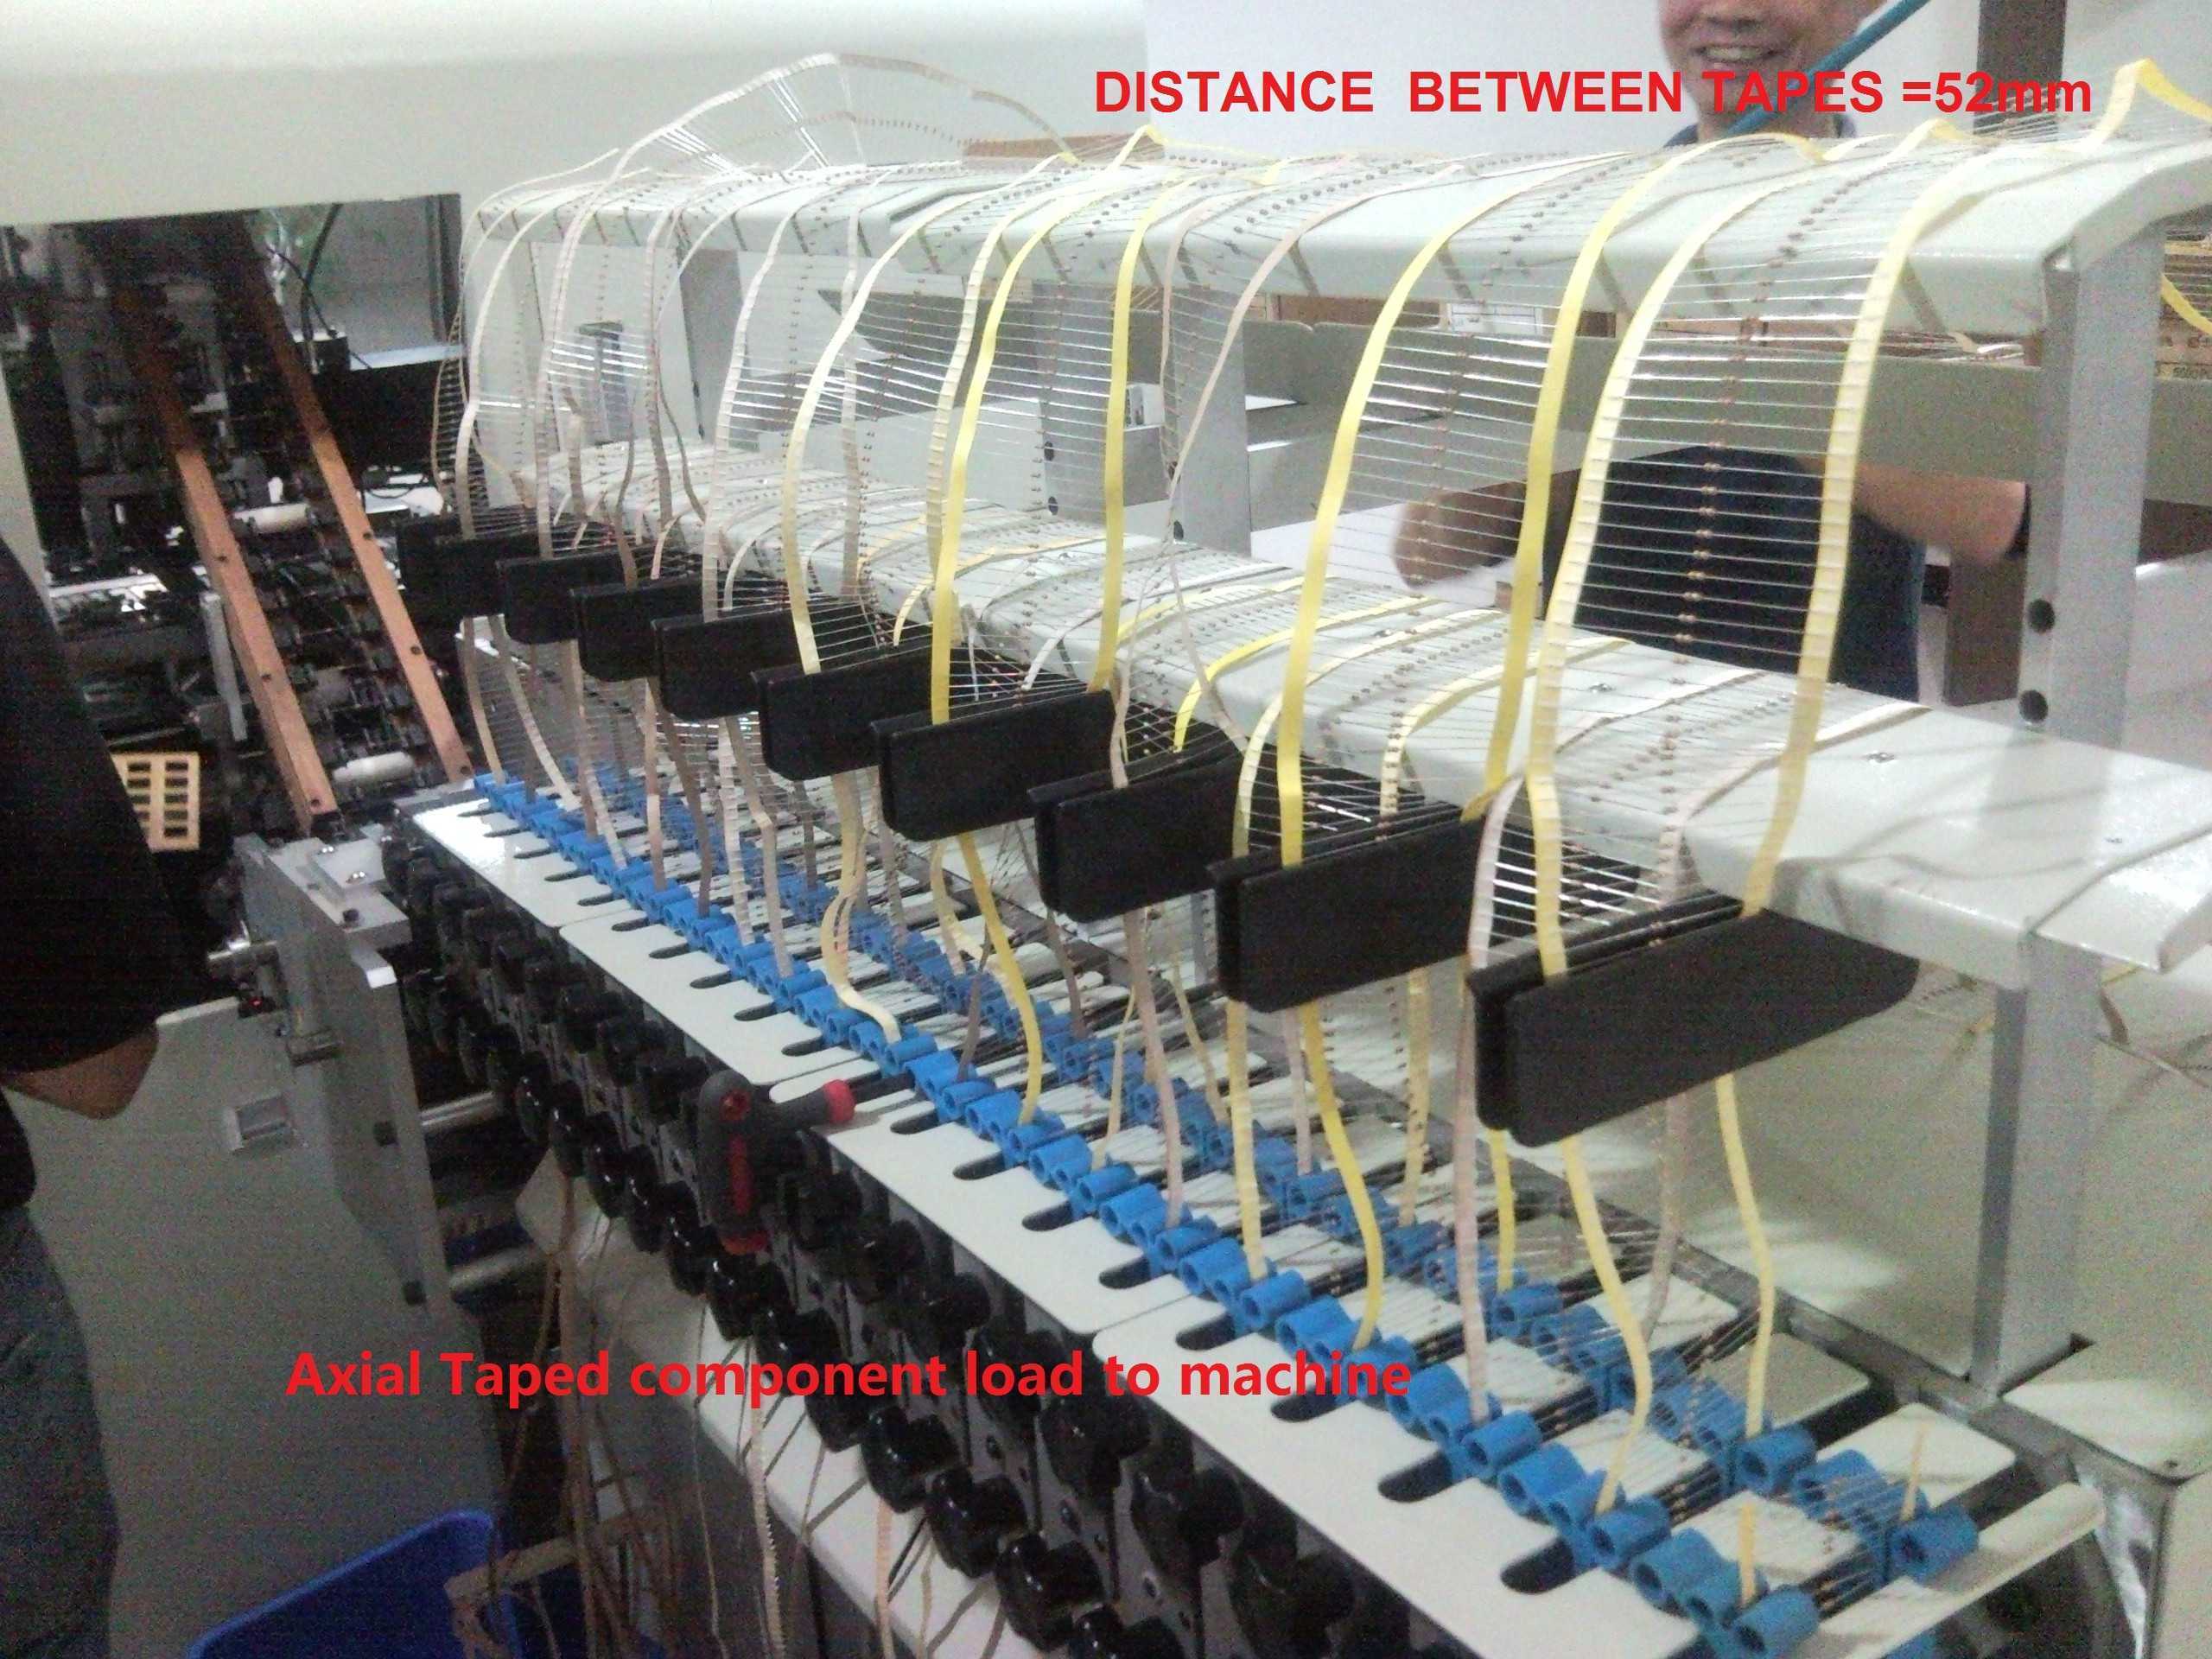
We designed and manufactured Auto Insertion machine in Shenzhen China, and provide SMT equipments, spare parts services support.
Posted by Auto Insertion on 2015年9月21日